Instant Pot Chili (No Beans)
This post may contain affiliate links. As an Amazon Associate I earn from qualifying purchases.
This Instant Pot No Bean Chili is packed with a combination of lean ground beef, vibrant veggies, and a kick of spices that will make any day feel like a special occasion. It’s an easy, comforting, one-pot wonder that you can just set in your Instant Pot and let it do all the magic.
The best part? No beans! Perfect for those preferring their chili sans legumes or keeping an eye on their carb count.
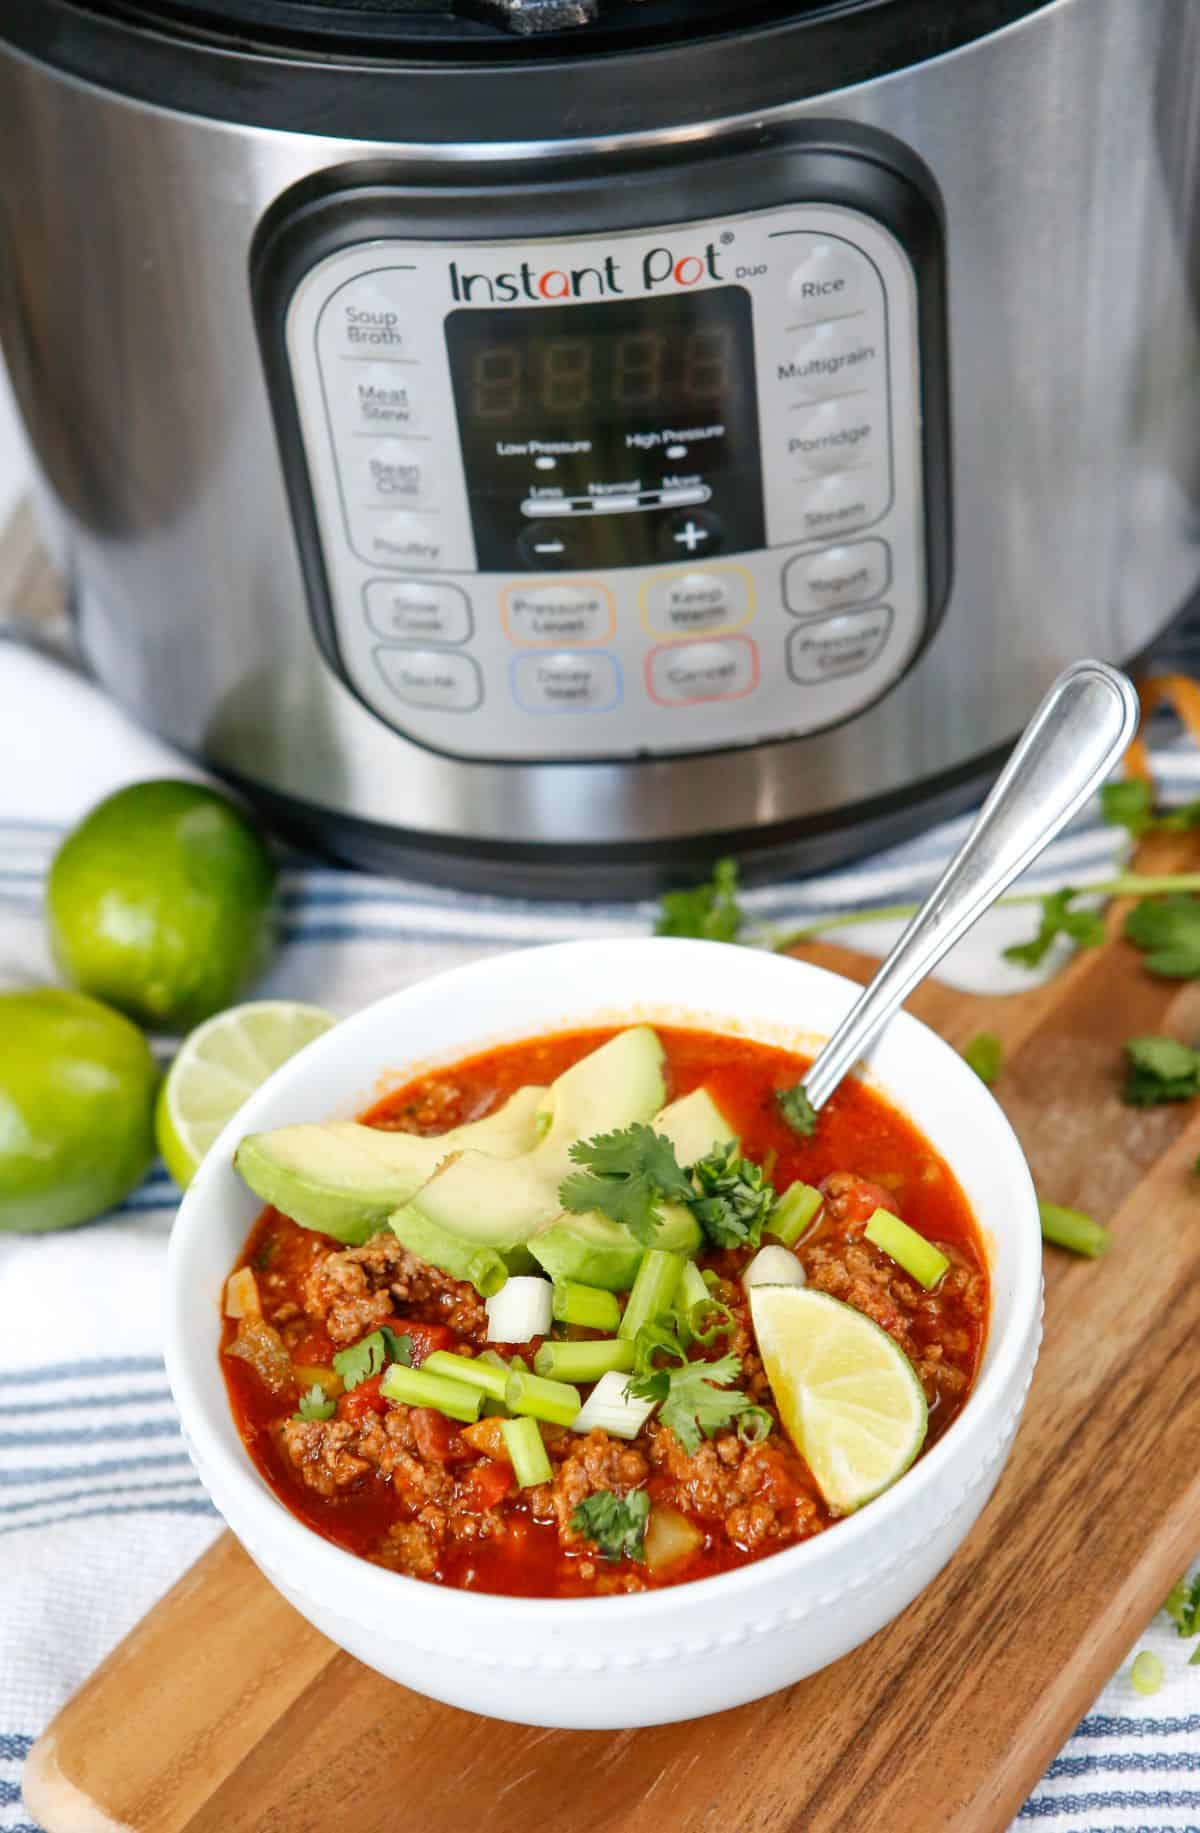
You may be thinking, ‘a chili with no beans, how does that work?’ Well, I’m here to tell you, it’s not only possible, but it’s also utterly delicious! Swapping beans for a bounty of veggies, this Instant Pot chili recipe still delivers that rich, deep flavor we all crave from chili, but with a satisfyingly different texture.
And with the Instant Pot, the process of slow-simmering ingredients for hours is condensed into a speedy cook time, all without sacrificing the flavor depth and complexity. It’s the perfect companion for our busy lives, making it possible to enjoy home-cooked, comforting meals like this chili on even the most hectic weeknights. #winning
But don’t take my word for it – gather up these ingredients and whip up a pot today. You won’t believe how good chili can be, even without the beans!
Prefer beans in your chili? Try this High Protein Chili Recipe.
What You’ll Love About This Recipe
Rachel’s Nutrition Tip: This chili is packed with lean protein and fiber-rich vegetables which promotes fullness and provides a balanced mix of nutrients. This is a great high-protein and low-calorie density meal.
Recipe Ingredients
You’ll need the following ingredients to make this No Bean Chili Recipe :
- Olive oil
- Onion
- Red bell pepper
- Celery
- Garlic
- Lean ground beef (preferably grass-fed)
- Chili powder
- Smoked paprika
- Cayenne pepper
- Fire-roasted diced tomatoes
- Crushed tomatoes
- Beef broth
- Tomato paste
- Sea salt
- Bay leaves
- Parsley
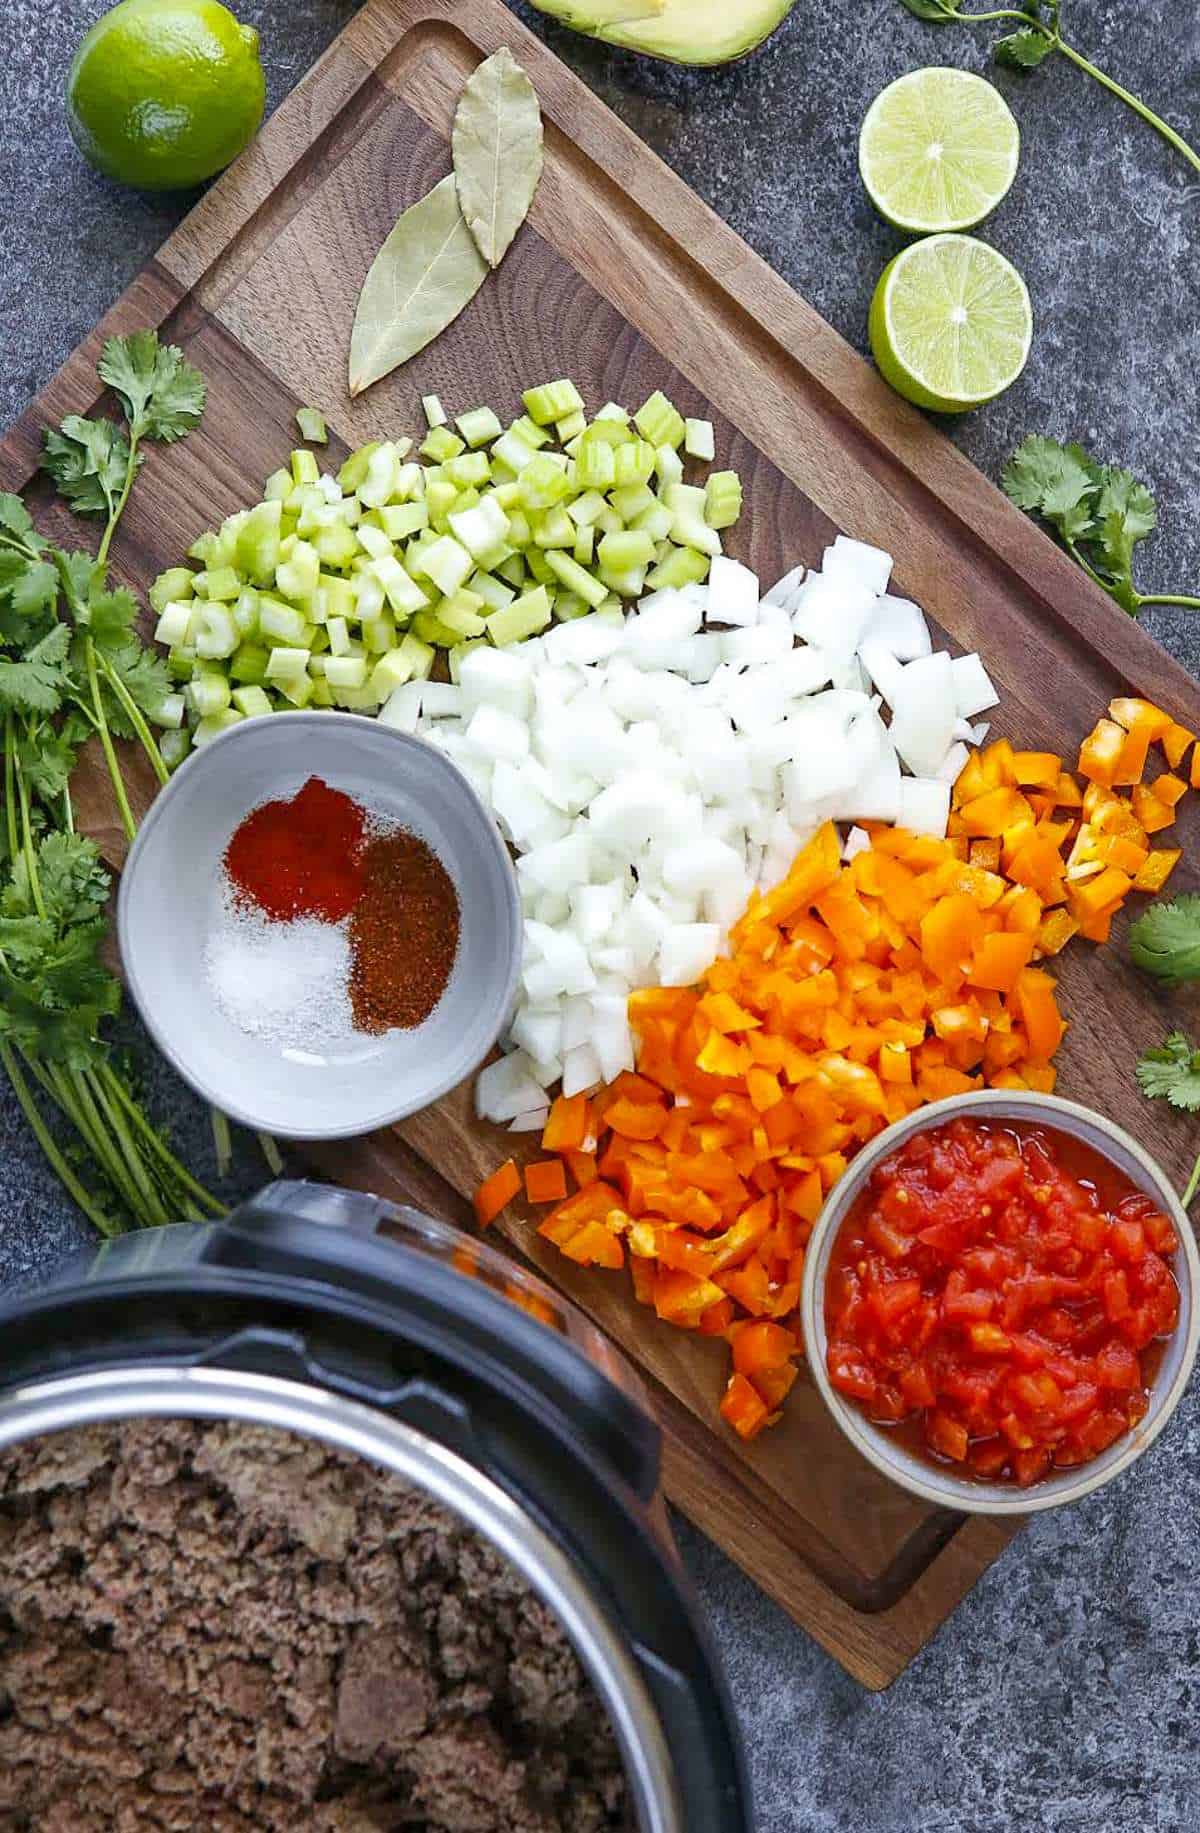
Ingredient Notes
Ground Beef – I recommend using 93% lean for this recipe. Using Grass-fed beef is optional but it does have higher nutritional value if you can find/afford it.
Bell pepper – Any color works great in this recipe.
How to make Instant Pot No Bean Chili: Step by Step
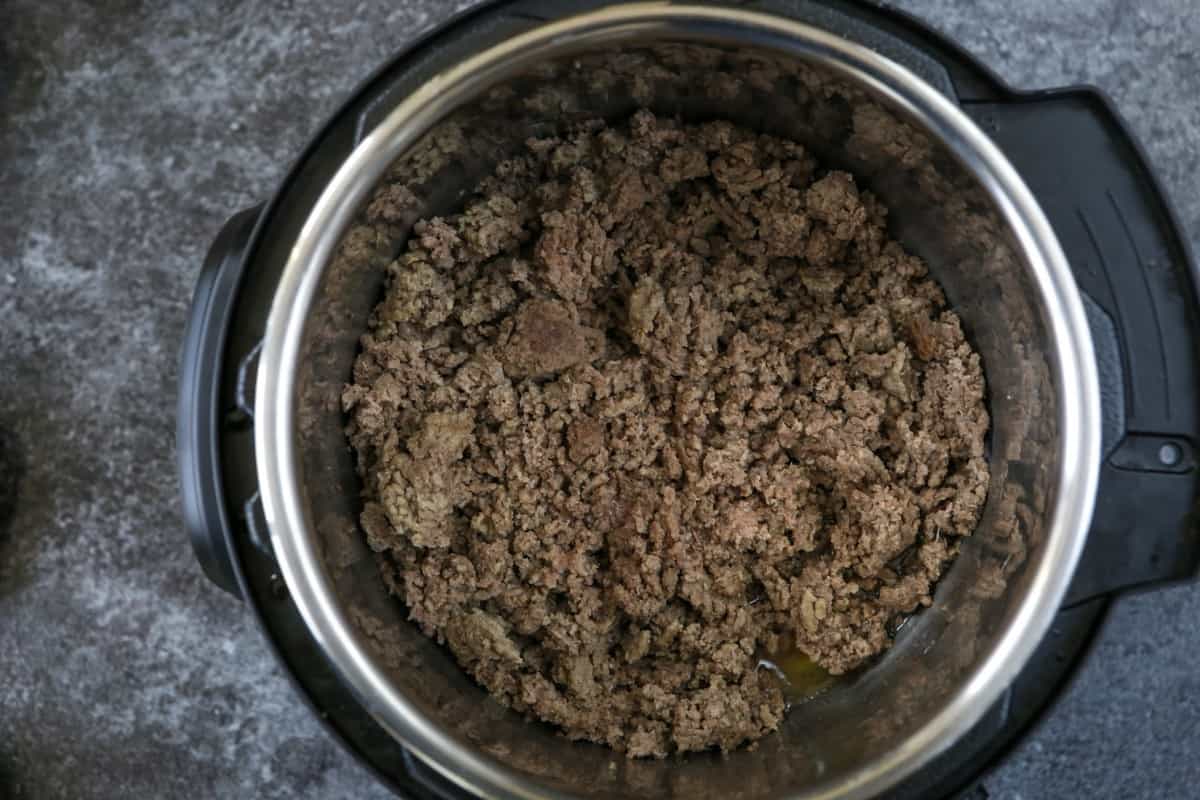
Step 1: Pour 1 tablespoon of oil into the Instant Pot and turn to sauté mode. Add the lean ground beef and cook until it begins to turn brown, about 3-4 minutes. Don’t forget to drain any excess fat.
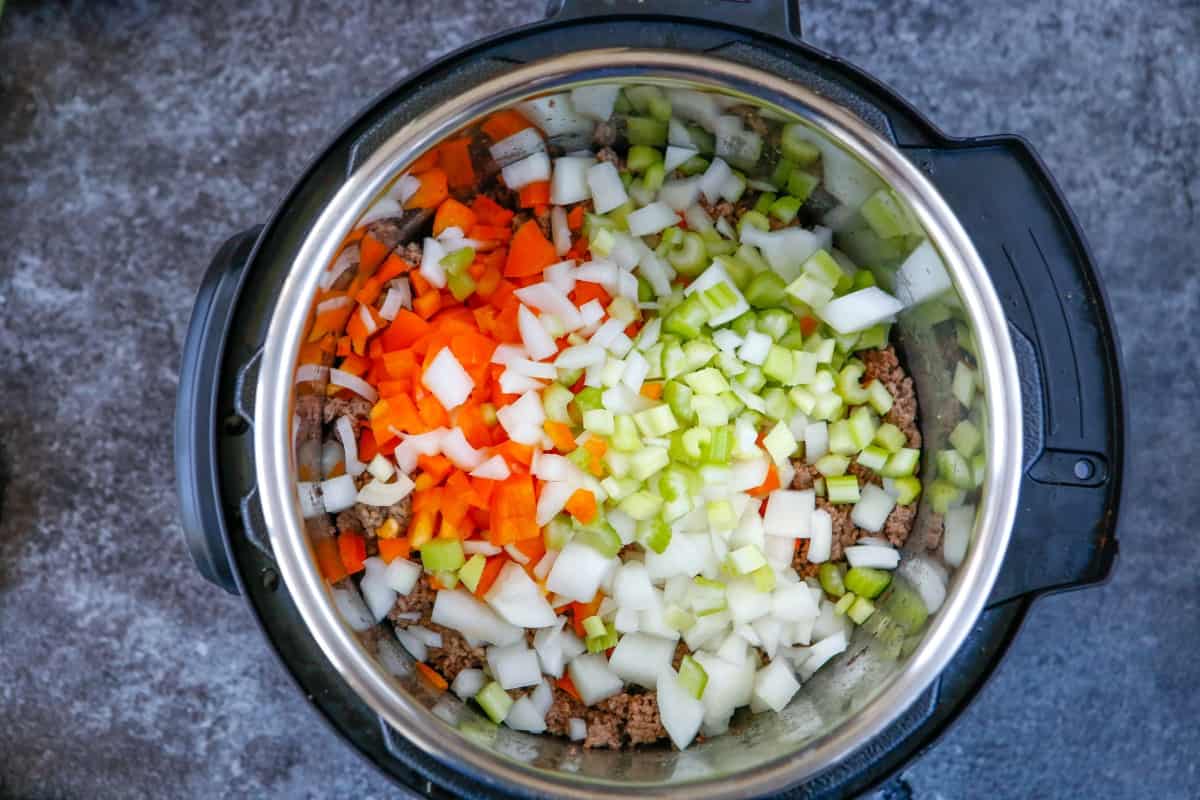
Step 2: Add the remaining oil, onion, pepper, celery, and garlic and sauté until they begin to soften about 3 to 4 minutes.
Step 3: Add the seasonings and cook until the beef is browned and crumbled about 3-4 additional minutes.
Step 4: Add the remaining ingredients to the pot and cover with the Instant Pot lid and turn the knob to sealing. Set to cook on manual mode at high pressure for 10 minutes.
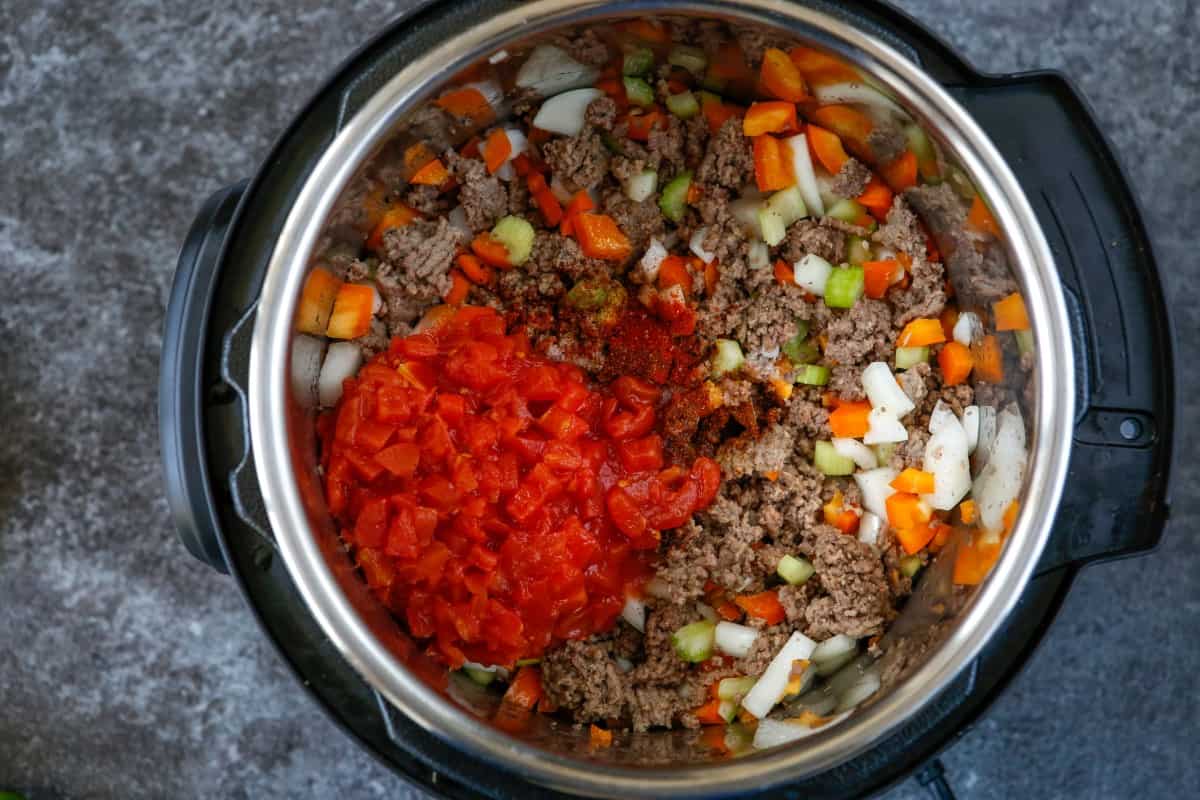
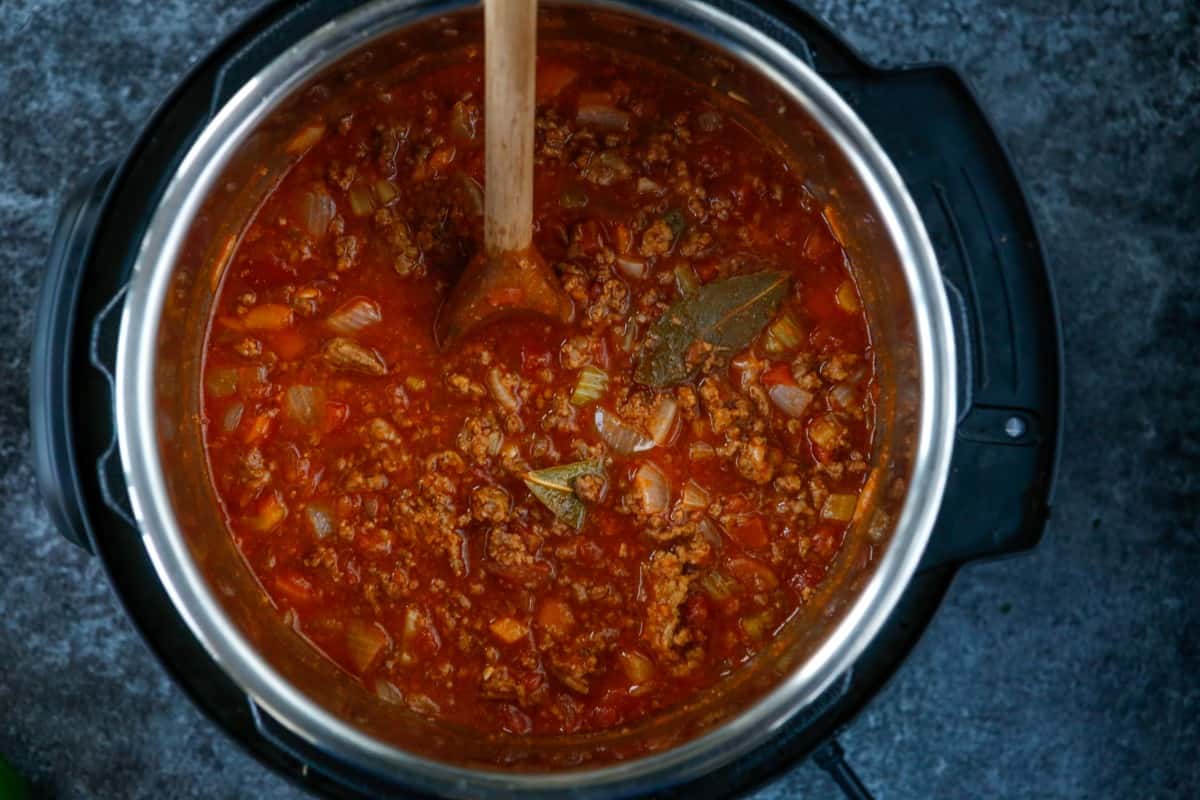
Step 5: After its finished cooking, allow the steam to release naturally until the pin drops down to indicate it is fully released.
Step 6: Remove the lid and turn on the sauté feature. Cook for another 3-4 minutes, stirring constantly to prevent burning until the chili thickens up a bit.
Recipe Tips and Tricks
- Layering: When you’re ready to cook, layer your ingredients with the beef and sautéed veggies at the bottom, then the tomatoes and broth on top. This helps prevent the Instant Pot from showing a “burn” error.
- Natural Release: After your chili has finished cooking, be sure to let the Instant Pot naturally release the pressure. This ensures the flavors are well melded together and also avoids any foam potentially spurting from the steam release valve.
- Freeze for Later: This chili freezes beautifully. Consider making a double batch and freezing half for an easy, reheat-able meal in the future
Storage & Reheating
Storage: Allow your chili to cool down before transferring it to an airtight container. Once cooled, it can be stored in the refrigerator for up to 4-5 days.
Freezing: For longer storage, you can freeze your chili. Make sure to use a freezer-safe container and leave some space at the top, as the chili will expand when frozen. Properly stored, it can be frozen for up to 3 months.
You can also use Souper Cubes to freeze your chili into individual portions – I am obsessed with these!
Reheating: If your chili i frozen, transfer it to the fridge the night before to allow it to thaw. Then, you can reheat it in a pot over medium heat on the stove, stirring occasionally, until it’s heated through.
If you’re in a hurry, you can also reheat it in the microwave. Transfer the chili to a microwave-safe dish, cover it, and heat on high for a couple of minutes, stirring halfway through to ensure even heating. Remember, the chili might be thicker after being stored, so feel free to add a splash of water or broth if needed while reheating.
Additions, Substitutions, and Variations
SUBSTITUTIONS
Ground Beef: Feel free to use ground turkey or even ground chicken.
Spices: If you can’t find smoked paprika, regular paprika can be used in a pinch. For those sensitive to spicy foods, you can skip the cayenne pepper and use a mild chili powder.
ADDITIONS
Additional Vegetables: Consider adding more veggies like zucchini, mushrooms, or carrots for an extra boost of nutrition and fiber.
VARIATIONS
White Chili: Use ground turkey and white beans in place of the beef and add green chilis and white corn for a twist on the classic chili.
Spicy Chili: If you like your chili hot, consider adding diced jalapeños, habanero peppers, or a bit more cayenne pepper.
How To Meal Prep
This No-Bean Instant Pot Chili doesn’t just make for a delicious and comforting dinner, but it’s also an excellent choice to meal prep in advance. That way, you have a nutritious and flavorful meal ready to heat and eat throughout your busy week.
- Prepare the recipe as instructed: Follow the steps laid out in the recipe to make your chili. Remember to let it cool before moving on to the next step.
- Portion out the chili: Once the chili has cooled, use a ladle to portion it out into individual meal prep containers. This makes it simple to grab a single serving when you’re ready to eat.
- Reheat when ready: When it’s time for lunch or dinner, simply take a container out of the fridge, remove the lid, and reheat the chili in the microwave. Be sure to stir it halfway through the heating process to ensure it heats evenly.
- For a work or school lunch: Reheat the chili in the morning, then transfer it into a thermos to keep it warm. You’ll have a delicious, hot lunch ready to go when lunchtime rolls around. You can also pair it with a piece of fruit or a slice of whole-grain bread for a well-rounded meal.
Topping Ideas
- Cheese: A sprinkle of shredded cheddar or Monterey Jack cheese can add a creamy, melty element to your chili.
- Sour Cream or Greek Yogurt: A dollop of sour cream or Greek yogurt can add a bit of tang and creaminess, helping to balance the heat of the chili.
- Fresh Herbs: Chopped fresh herbs, such as cilantro, parsley, or green onions, can add a pop of fresh flavor and color to your chili.
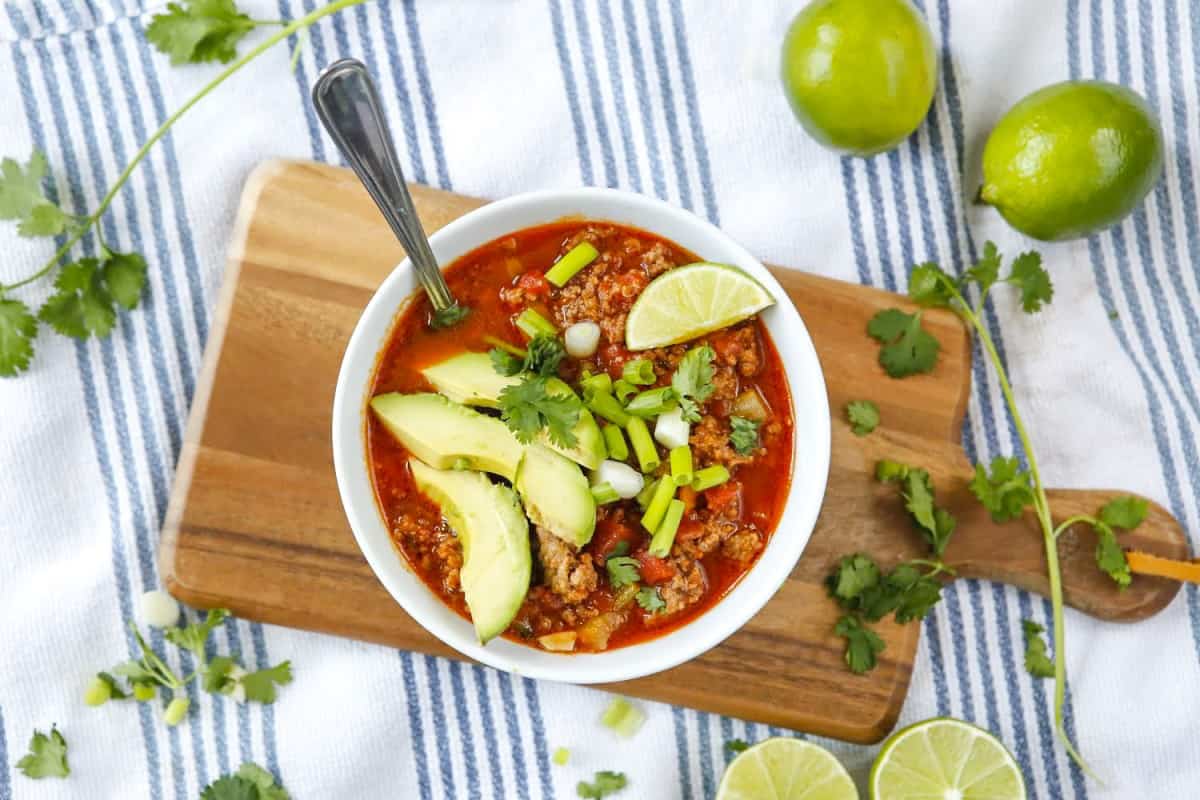
- Avocado: Sliced or diced avocado adds a creamy element and healthy fats.
- Crushed Tortilla Chips: For a bit of crunch, you could top your chili with a handful of crushed tortilla chips.
- Jalapeños: If you like it spicy, consider adding a few slices of fresh or pickled jalapeños.
- Lime Wedges: A squeeze of fresh lime juice over your chili can brighten up the flavors wonderfully.
How To Serve
Once your No-Bean Instant Pot Chili is cooked, ladle it into bowls and serve it warm. It’s definitely satisfying on its own, but you can also jazz it up with some of these options…
- Bread: Serve with a side of crusty bread or cornbread. You can even top it with a dollop of butter for a bit of decadence.
- Rice: Spoon your chili over a bed of cooked rice. This pairs particularly well if you’ve added extra broth to your chili, allowing the rice to soak up all those delicious flavors.
- Baked Potato: Make a loaded chili baked potato by topping a baked potato with a serving of chili. You can also add cheese, sour cream, and chives for the ultimate comfort food dish.
- Salad: For a lighter meal, serve your chili with a side of fresh salad. The cool, crisp textures can be a great contrast to the hearty, warm chili.
- Toppings: Add an array of toppings to your serving bowl and let everyone customize their own bowl of chili. Options can include shredded cheese, diced onions, sliced jalapeños, sour cream, chopped cilantro, and avocado slices.
Frequently Asked Questions
My Favorite
Instant Pot Recipes

Instant Pot Chili No Beans
Equipment
- Instant pot
Ingredients
- 1 ½ tbsp olive oil divided
- ½ cup onion diced
- 1 red bell pepper diced
- ½ cup celery diced
- 1 garlic clove minced
- 1 lb grass-fed lean ground beef
- 1 tbsp chili powder
- 1 tbsp smoked paprika
- ¼ tsp cayenne pepper
- 1 14oz can fire-roasted diced tomatoes
- 1 14oz can crushed tomatoes
- ½ cup beef broth
- 2 tbsp tomato paste
- pinch of sea salt
- 2 bay leaves
- ¼ cup parsley chopped
Instructions
- Pour 1 tablespoon of oil into the Instant Pot and turn to sauté mode. Add the onion, pepper, celery, and garlic and sauté until they begin to soften about 3 to 4 minutes.
- Add the remaining oil and lean ground beef. Cook until it begins to turn brown, about 3-4 minutes. Drain any excess fat.
- Add the seasonings and cook until the beef is browned and crumbled about 3-4 additional minutes.
- Add the remaining ingredients to the pot, and mix well until combined. Cover with the Instant Pot lid and turn the knob to sealing. Set to cook on manual mode at high pressure for 10 minutes.
- After its finished cooking, allow the steam to release naturally. Until the pin drops down to indicate it is fully released.
- Remove the lid and turn on the sauté feature. Cook for another 3-4 minutes, stirring constantly to prevent burning until the chili thickens up a bit.
- Add the chopped parsley and serve warm.
Notes
- When you’re ready to cook, layer your ingredients with the beef and sautéed veggies at the bottom, then the tomatoes and broth on top. This helps prevent the Instant Pot from showing a “burn” error.
- After your chili has finished cooking, be sure to let the Instant Pot naturally release the pressure. This ensures the flavors are well melded together and also avoids any foam potentially spurting from the steam release valve.
- Consider making a double batch and freezing half for an easy, reheat-able meal in the future.
Nutrition
The nutritional details for recipes are estimated using MyFitnessPal and can vary with different products, measurement accuracy, and source reliability. We aim to provide accurate information but cannot guarantee the precise accuracy of the nutritional data
